Hello and welcome to my guide on setting up an Azure Virtual Desktop (AVD). Whether you’re a seasoned IT professional or a beginner looking to expand your cloud computing skills, this tutorial is for you. By the end of this guide, you’ll have the knowledge to create a fully functional AVD that you can use for various tasks, including remote work and software testing.
Prerequisites:
- An active Azure subscription
- Basic understanding of cloud computing
- Access to Azure Active Directory or Microsoft Entra (student accounts most likely will not have access so just deploy a vm)
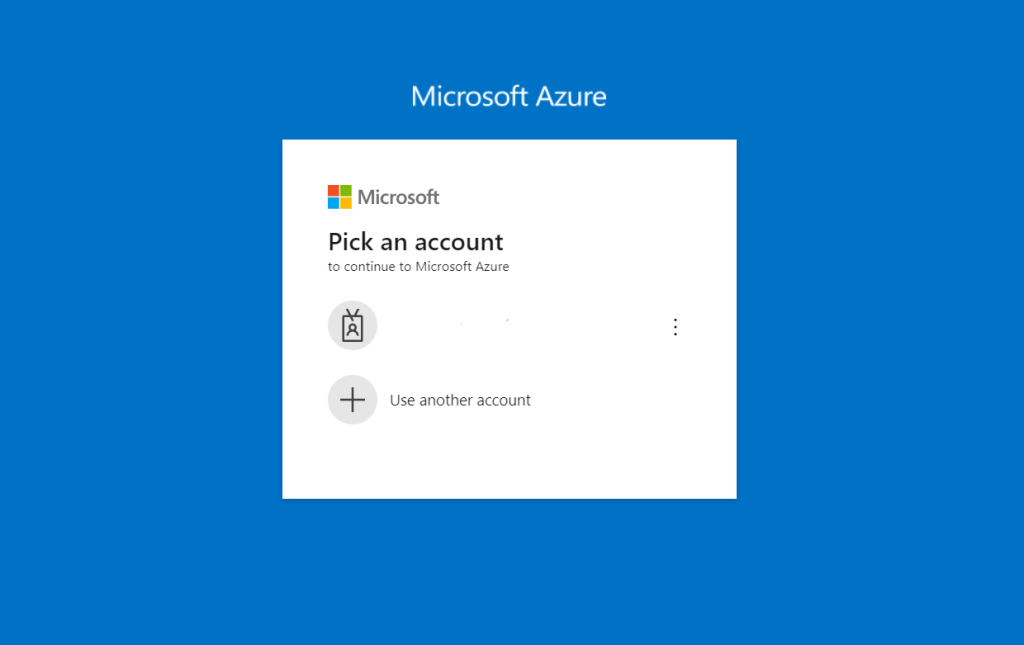
Step 1: Log in to the Azure Portal
- Open your web browser and navigate to the Azure Portal.
- Log in using your Azure credentials.
Step 2: Creating a Resource Group
Creating a resource group in Azure is essential for organizing and managing related Azure resources. It ensures streamlined deployment and simplified billing when setting up a Virtual Desktop. Think of it as a bucket where you put different resources into one place.
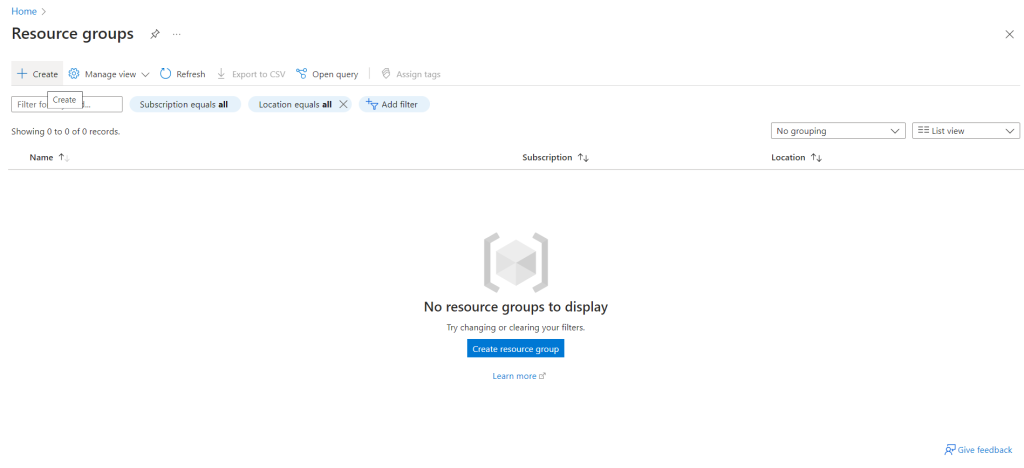
From the Home page, navigate to “Resource Groups”.

Click “Create”.
Give your resource group a name and select a region.
Note: Ensure that all resources are in the same region; otherwise, some may not work.
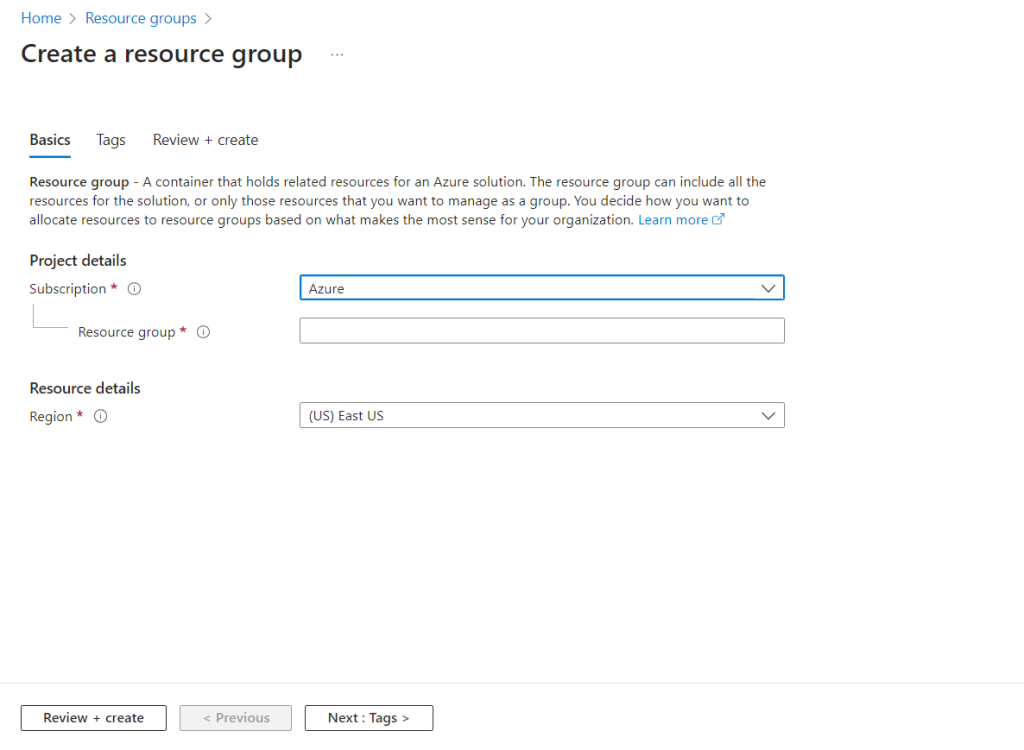
Click “Next” at the bottom of the screen.
You will then be in the “Tag” section. Tags are optional and are mainly used for billing organization.
Click “Next” again. Wait for validation, then click “Create” at the bottom of the screen.
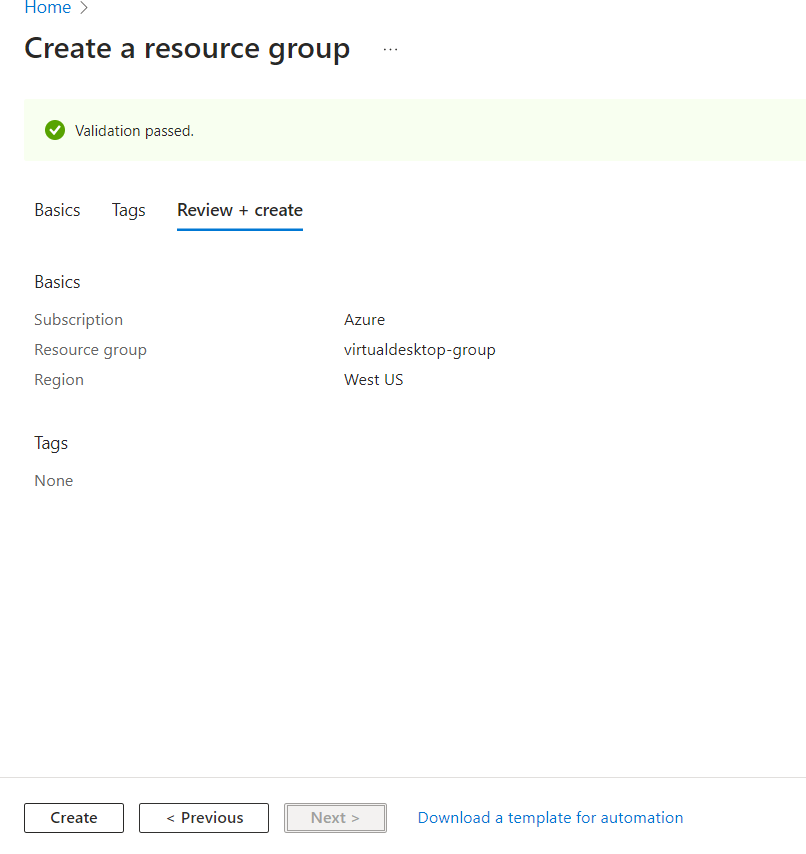
Click “Create” and wait for process to complete.
Step 3: Creating a Virtual Network
Navigate back to the Home Page.
In the search bar, type “Virtual Networks” and click on it.

Click “Create.”
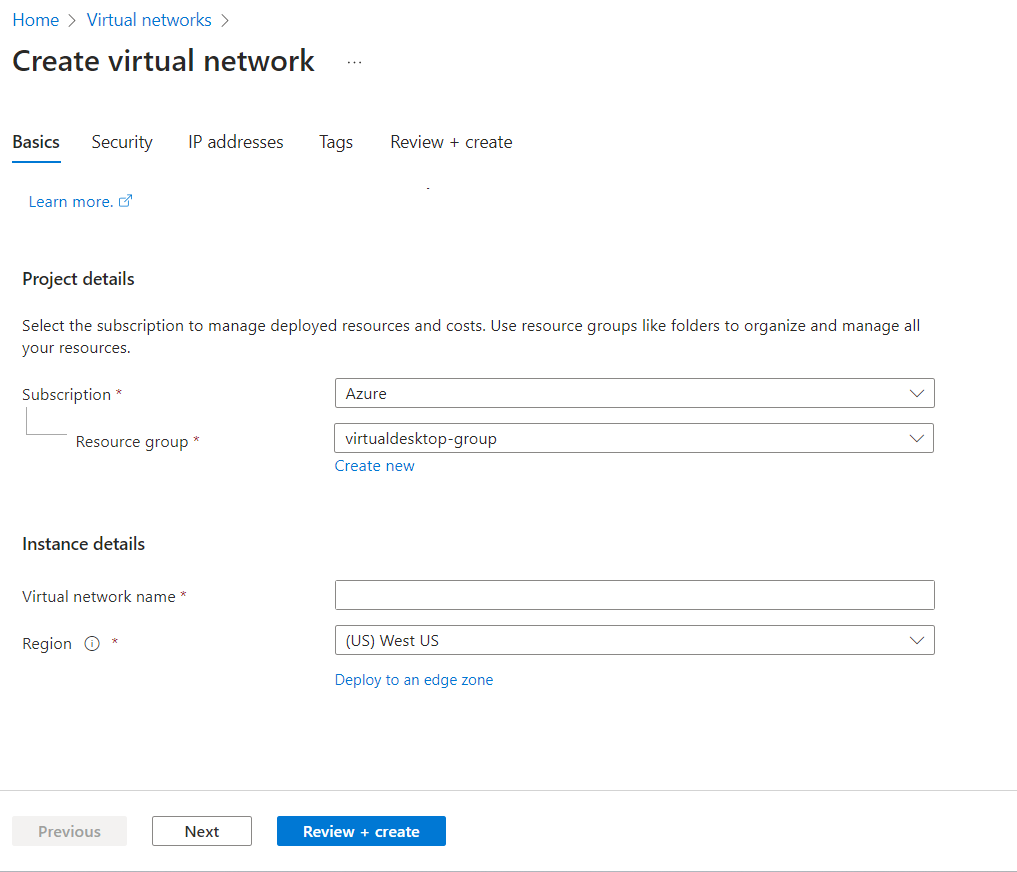
Select your resource group and give the network a name.
Note: Make sure your region is correct.
Configure security settings as needed; for this guide, default settings are sufficient.
For “IP Address,” use a default address or configure it to your needs.
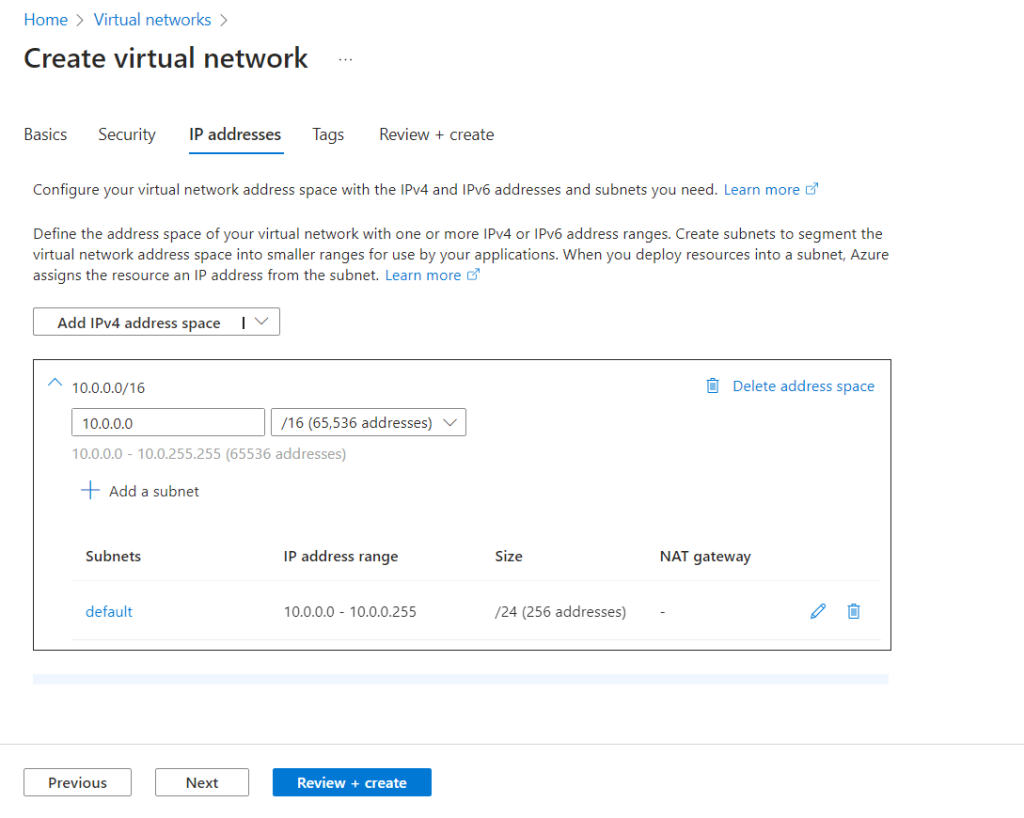
Review and click “Create.”
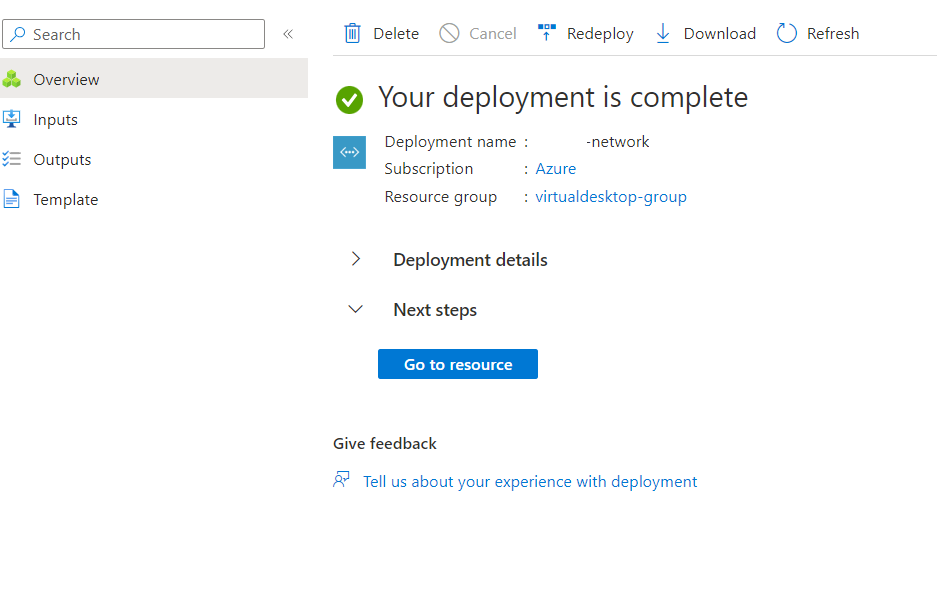
Wait for validation and completion.
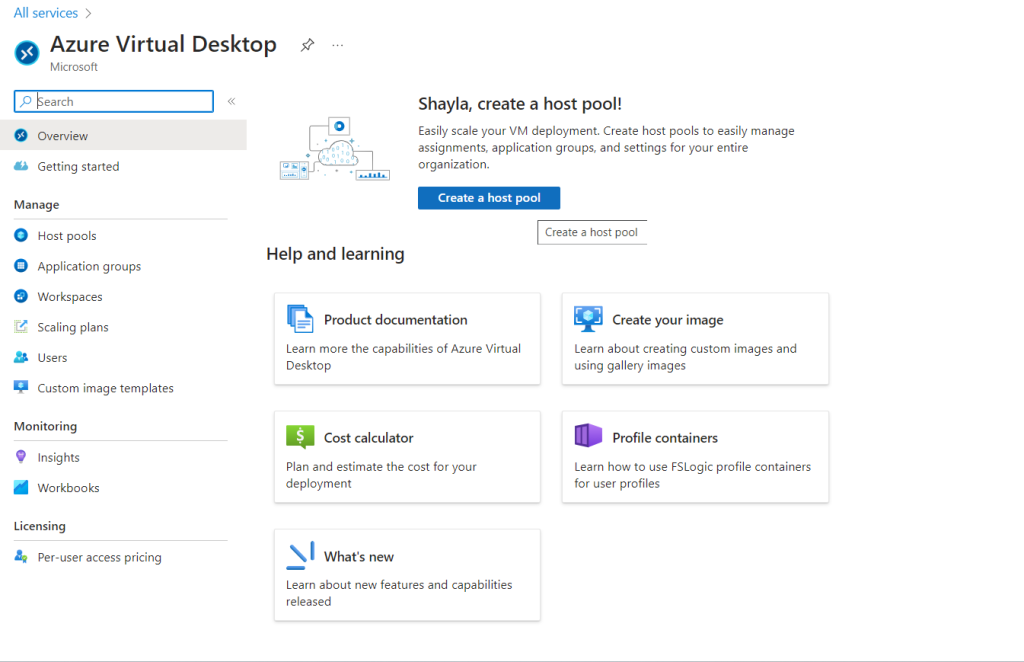
Step 4: Setting up Azure Virtual Desktop
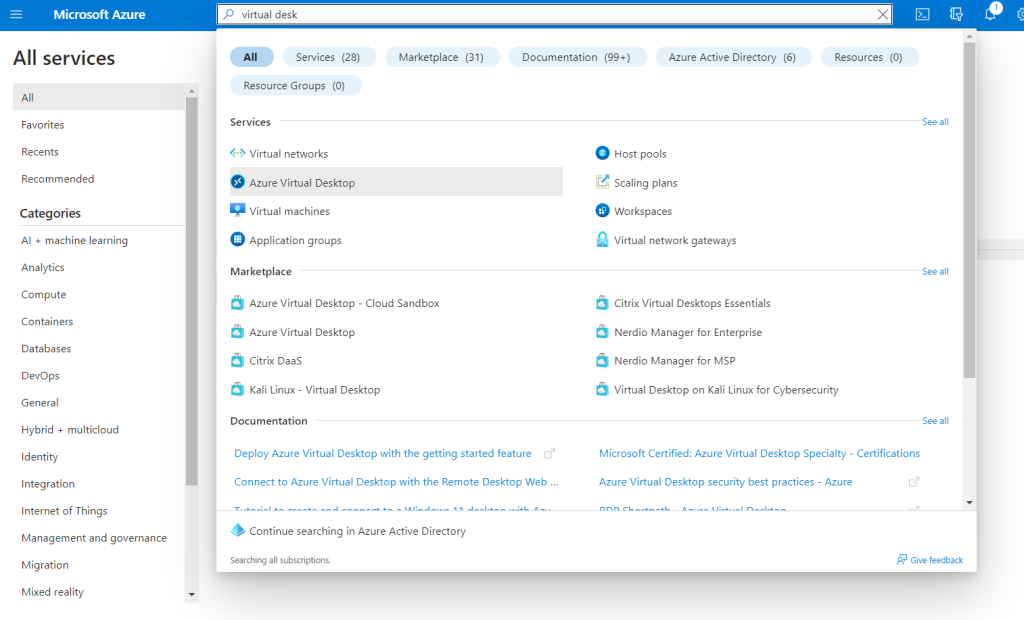
Navigate to the home page and select “Virtual Desktops” either in the search bar or by icon.
In the search bar, look up “Azure Virtual Desktops” under “Services.”
Step 5: Create a New Host Pool
Click “Create a host pool”.
Fill in the required fields such as “Resource Group,” “Host Pool Name,” and “Location.”
Note: The “Validation Environment” option allows you to test things before launching into live production. For this guide, select “No.”
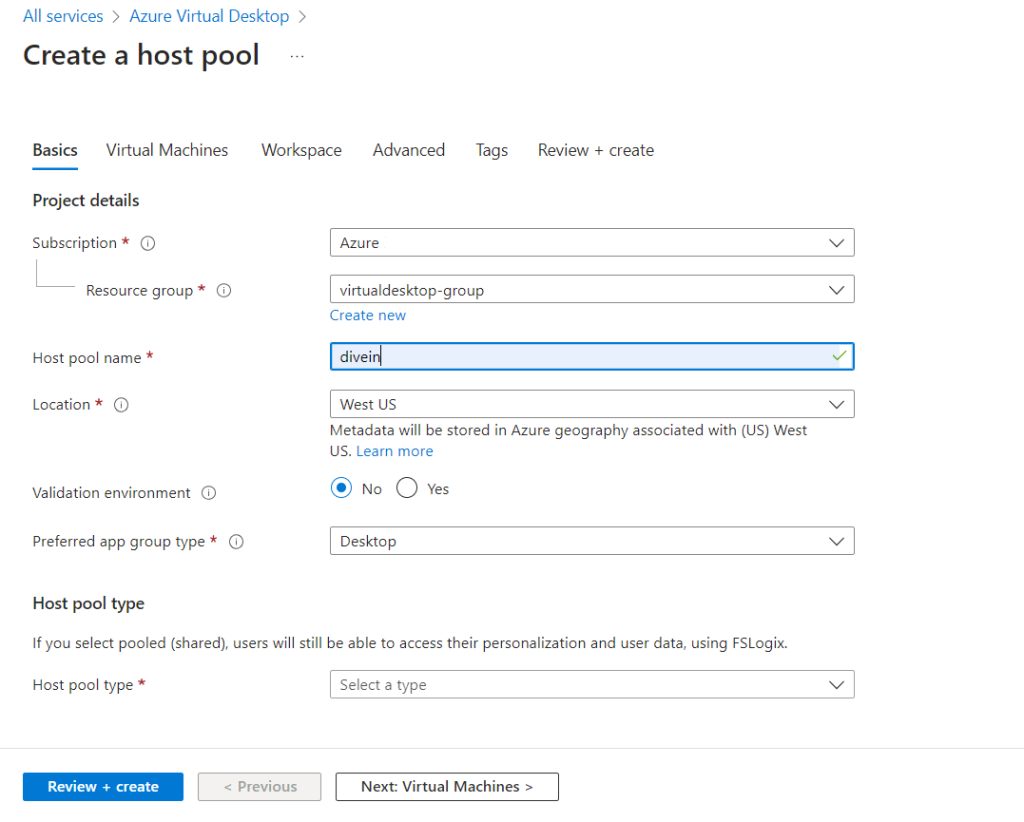
Click “Next: Virtual Machines”
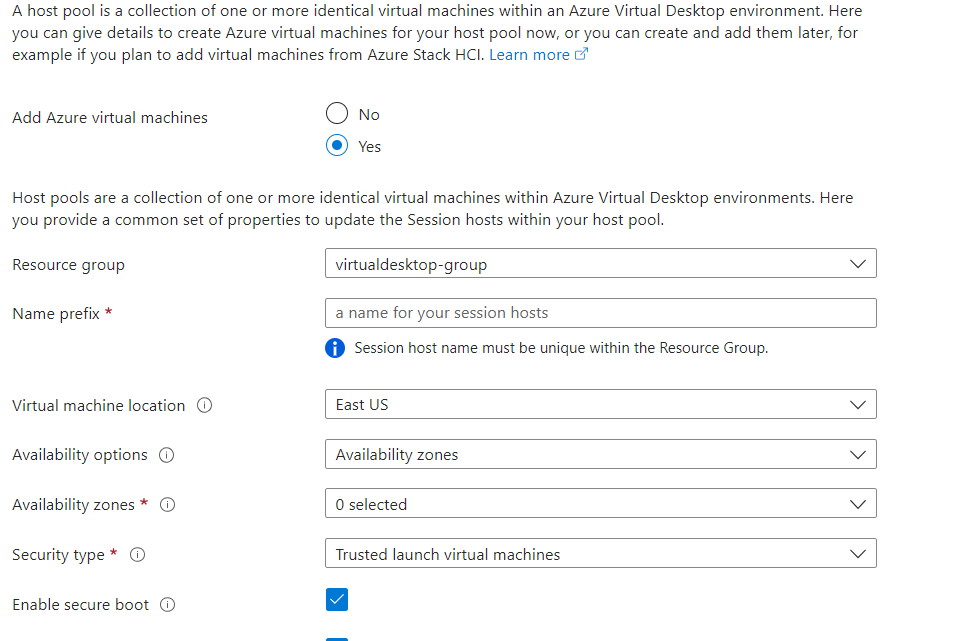
After creating the Host Pool, you’ll be prompted to configure your virtual machines (VMs).
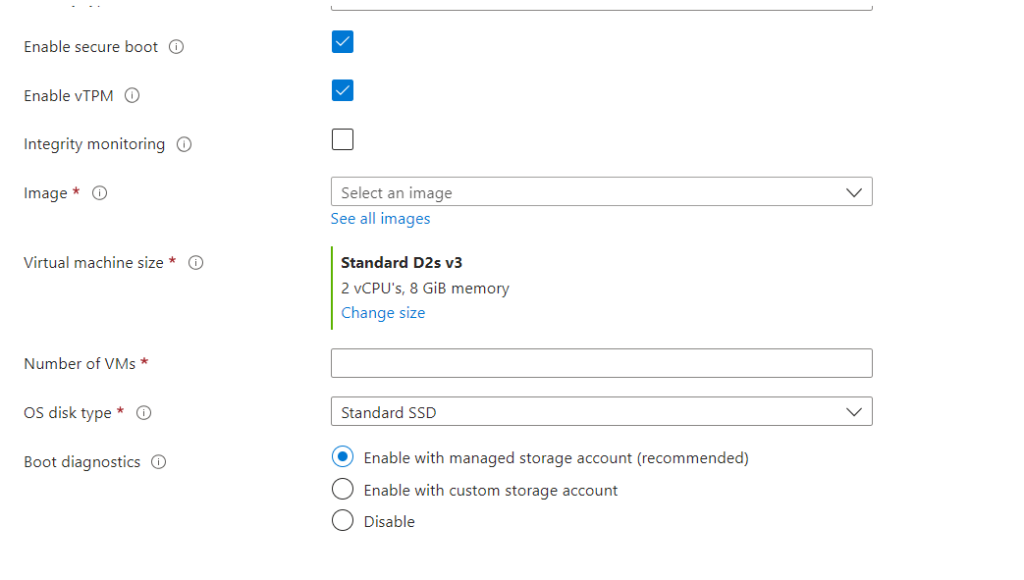
Choose the VM size, number of VMs, and other settings according to your requirements.
Choose your image
Configure you Network and security using the virtual network created earlier.
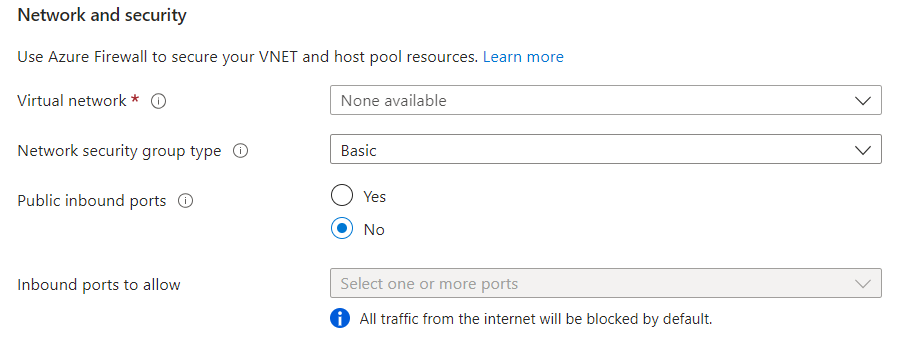
Add you domain and password.
Note: Azure Active Directory is switching over to Microsoft Entra, so there will be an option to use that instead.

Add your admin account.
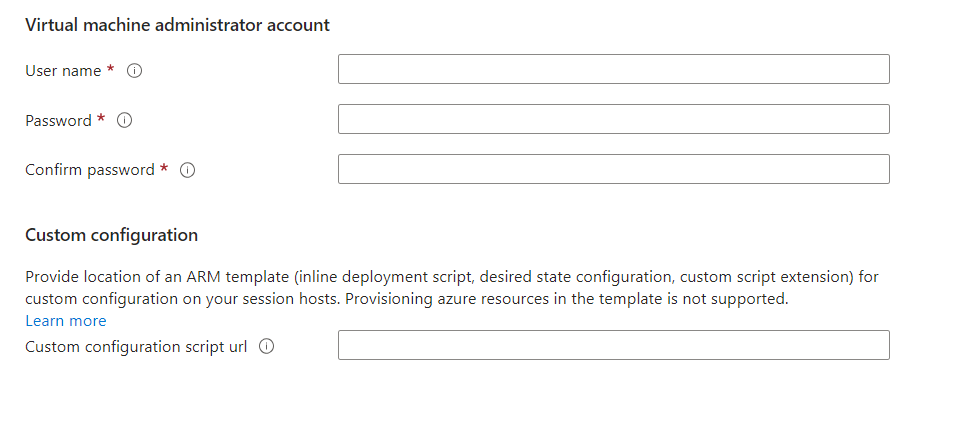
Click “Next” until you reach “Review + Create”
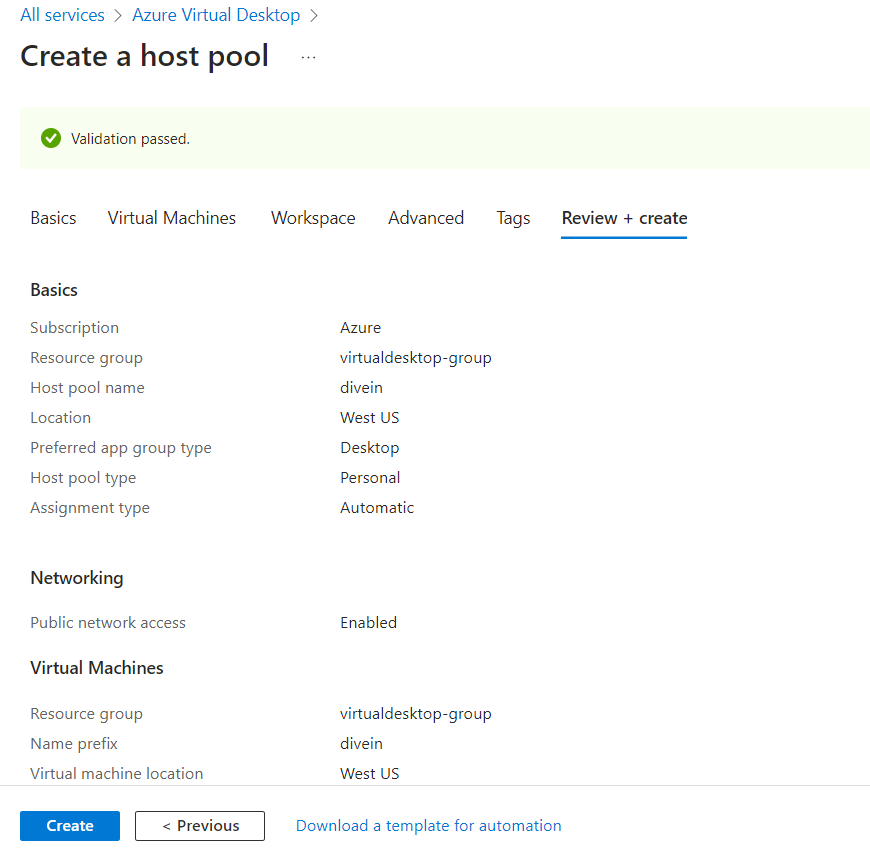
Review all settings to ensure they meet your requirements.
Click “Create” to initiate the deployment process.
Note: Application Groups are created when you created a pool. There you can assign users.
Go to your Host Pool
Click “Application Groups”
Select your DAG, then navigate to the “Assignments”
Click “Add” to add your user.

Once added, go back to the “Resource Group” to give access permissions.
Click “Access Control(IAM)”
Click “Add Role Assignment”

In the “Role” tab search bar type login and choose per your requirements.

Note: For this tutorial we’ll use the “Virtual Machine User Login”.
Click “Next” and select members.
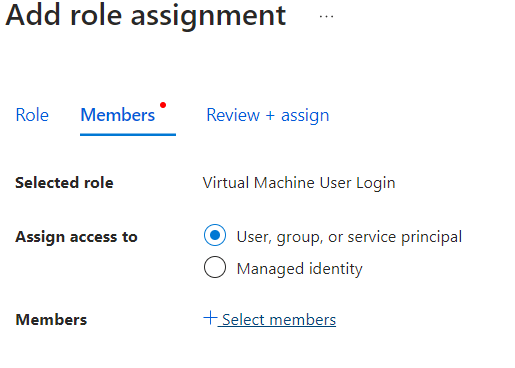
Review and assign.
Step 9: Access Your Virtual Desktop
Once the deployment is complete, go back to “Virtual Desktops” and click on your newly created Host Pool.
Click “Connect” button usually located at the top of the page.

A Remote Desktop Protocol (RDP) file will be downloaded. Save the file to your computer.
Navigate to the downloaded RDP file and double-click to open.
A Remote Desktop Connection dialog will appear. Enter your Azure credentials when prompted.
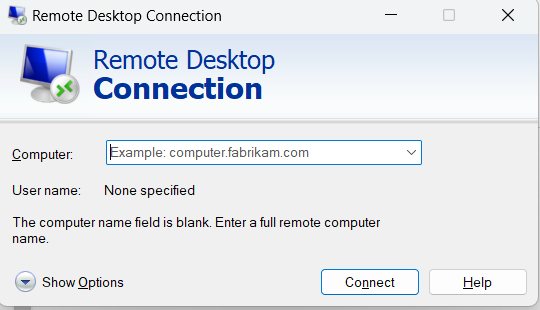
Click “Connect” to establish connection.
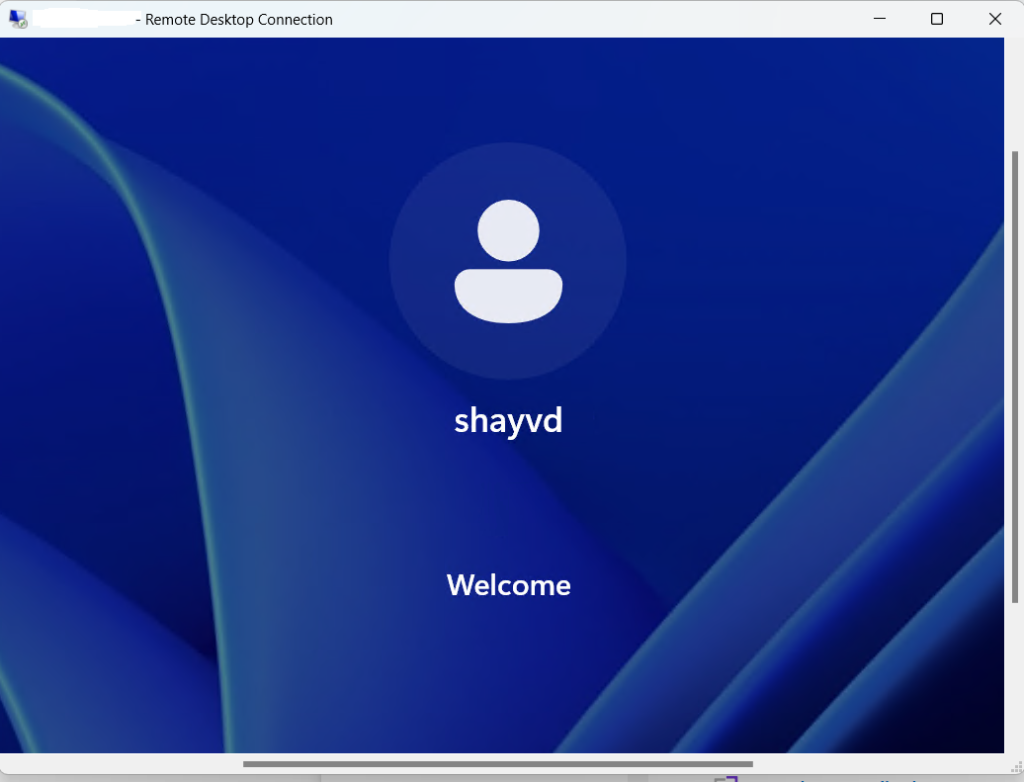
Note: You may receive a security warning. If you trust the source, click “Yes” to proceed.
Troubleshooting
- If you encounter any issues, check your network connection and ensure you have the correct permissions.
- If the problem persists, check out Azure’s documentation or support for further assistance.
Conclusion
Voilà, you’ve successfully set up an Azure Virtual Desktop! This powerful tool can revolutionize the way you work, offering both flexibility and security. Remember, to create a virtual desktop using this method you will need access to Azure Active Directory or Microsoft Entra. For students or trial account users, simply deploy a VM which I will cover in another post.